
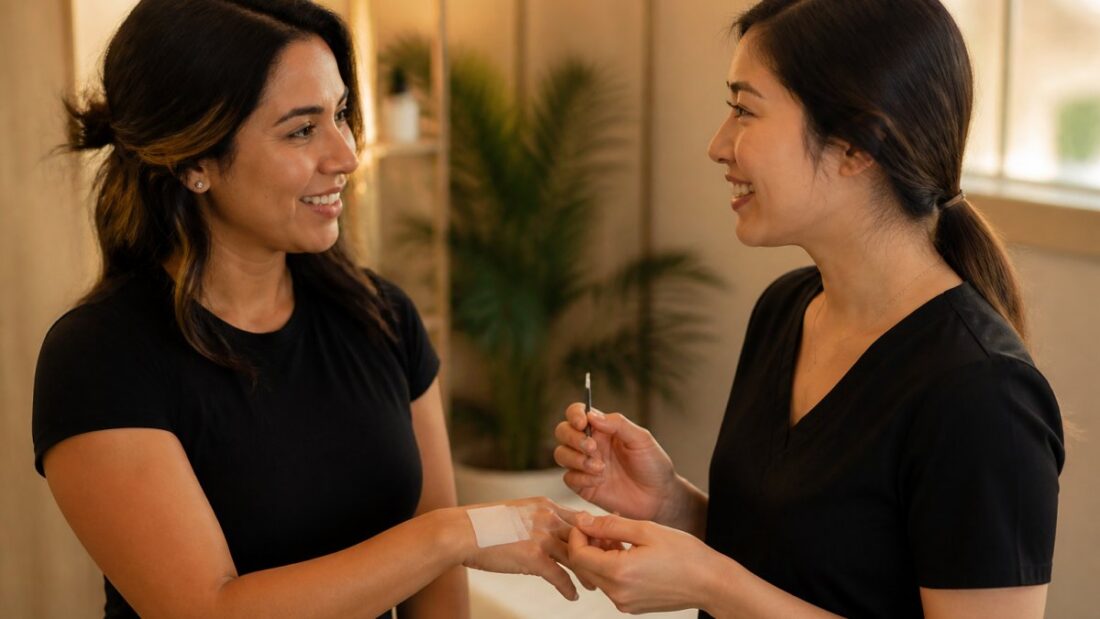
How to Perform a Patch Test for Lash Extensions
Table of Contents
- Why a Patch Test for Lash Extensions Is Non-Negotiable
- What You’ll Need Before You Start
- Step-by-Step: How to Do a Lash Extension Glue Patch Test
- How Long to Wait After a Lash Glue Patch Test Before Your Appointment
- Eyelash Extension Adhesive Allergy Symptoms to Watch For
- What to Do After a Lash Adhesive Reaction
- What a Negative Patch Test Can and Cannot Guarantee
- Common Mistakes to Avoid During Patch Testing
- Frequently Asked Questions
Last Updated: October 14, 2026
Why a Patch Test for Lash Extensions Is Non-Negotiable
A patch test for lash extensions is a short, simple safety step that places a tiny amount of adhesive on your skin before a full set is applied.
Here’s the part most guides skip: a patch test is not a pass or fail exam you take once and forget.
Lash adhesive contains ingredients that can trigger an allergic reaction in some people.
Many clients tell us they’ve had lashes before with no problem, so they assume they’re safe.
So how do you protect yourself? You test first, wait, watch, and document.
A patch test cannot promise you’ll never react. It can catch most sensitivity before a full set goes on, which is why we never skip it.
What You’ll Need Before You Start
Gather these items before you begin. A professional lash artist will already have everything on hand.
- The exact lash adhesive you plan to use for the full set
- A microbrush or a clean cotton swab
- Gentle cleanser or an oil-free makeup remover
One detail matters more than the rest: you must test the same adhesive, from the same bottle, that will be used on your lashes.
If you have a known history of skin sensitivity, bring a list of products that have caused problems before. That list helps your artist choose a gentler option.
Step-by-Step: How to Do a Lash Extension Glue Patch Test
A lash extension glue patch test takes about 15 minutes of chair time and follows three stages: a health review, a controlled adhesive exposure, and a monitored waiting period.
Step 1: Consultation and Health History Review
Your artist should start by asking about your health history. This is where the real risk assessment happens.
Expect questions about:
- Past reactions to lash glue, tint, or dye
- Known allergies to latex, nickel, or cosmetics
- Current eye infections, cuts, or irritated skin
Answer honestly, even if a detail seems minor. A patch-test record is only as good as the information behind it. If you have reacted to adhesive before, say so, that history changes which product your artist should test, and it may mean a patch test is not appropriate at all until you have been cleared by a medical professional.
Step 2: Prepare the Test Site and Apply the Adhesive Safely
This is the step most guides get wrong.
A safer protocol:
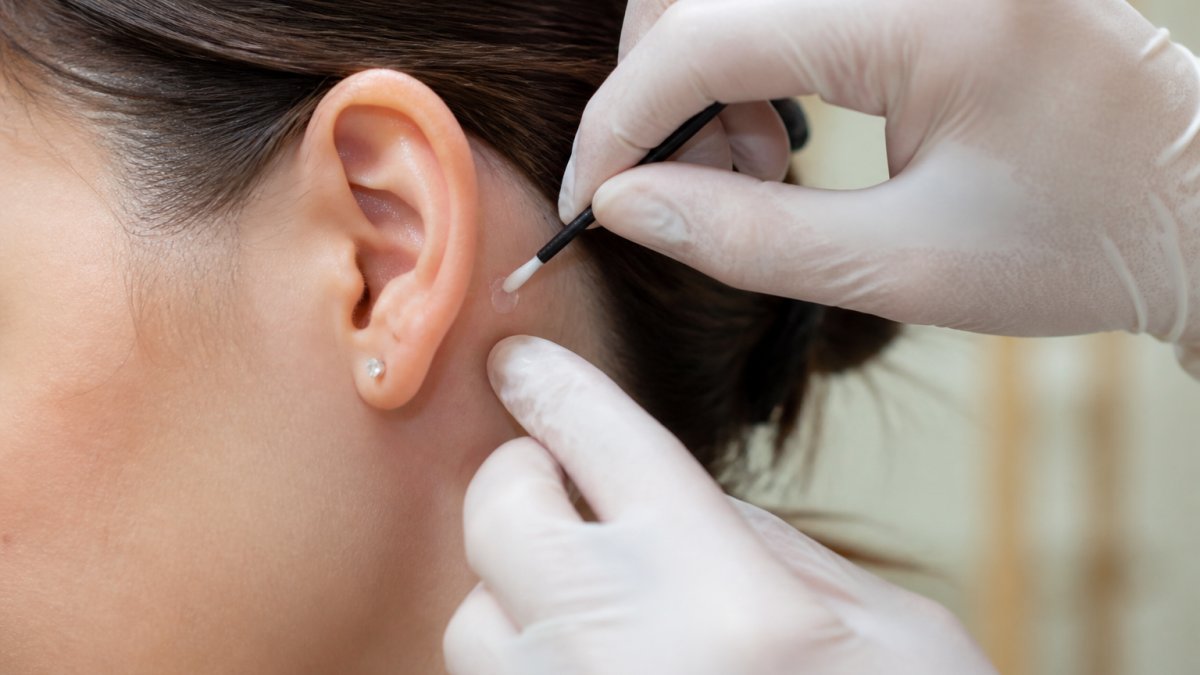
- Choose the site. The standard site is a small patch of clean skin behind the ear or on the inner forearm. Both are away from the eye and easy to keep dry.
- Clean and dry. The artist cleans the area with a gentle cleanser or oil-free makeup remover, then lets it dry completely. Oils and residue can change how the adhesive cures and skew the result.
- Apply a controlled amount. Using a microbrush, the artist places a drop of adhesive roughly the size of a pinhead on the skin. Some artists cure the drop briefly with a curing light or let it flash off for a few seconds so the surface is no longer wet before it touches skin. Follow the adhesive manufacturer’s instructions for how the product should be handled during a test.
- Optional lash check. If you and your artist want to test lash placement as well as the adhesive, a couple of individual lashes can be placed on the cured drop, not on the lash line itself.
- Do not rub, scratch, or cover the site. Leave it exposed and dry for the observation window.
You should feel nothing at this point. If you feel burning, stinging, or itching right away, tell your artist immediately and have them remove the adhesive with the manufacturer’s recommended remover or a gentle cleanser.
A note on scope: patch-test requirements, timing, and approved test sites can vary by adhesive manufacturer, salon insurance policy, and state or local cosmetology rules.
Step 3: Document the Test and Observe for 24-48 Hours
The artist records the test date, the product name, the batch or lot number, and the test site. They photograph the area. Then you go home and observe.
Check the spot at the 24-hour mark and again at 48 hours. Look for redness, itching, swelling, or discomfort. Report anything unusual, even if it seems mild.
Keep the record. If you ever switch adhesives or return to the same one months later, that documented history is what lets your artist make a smarter choice next time.
How Long to Wait After a Lash Glue Patch Test Before Your Appointment
Wait at least 24 hours, and ideally 48 hours, before your full appointment. This waiting period gives a delayed reaction time to show up.
A reaction that appears at hour 40 is just as real as one that appears at hour 4. Cutting the wait short defeats the purpose of the test.
If your schedule is tight, book the patch test a few days before your lash appointment.
We schedule patch tests on a separate, quick visit rather than tacking them onto a full appointment. It keeps the waiting period honest and gives you a clear answer before you commit to a full set.
Eyelash Extension Adhesive Allergy Symptoms to Watch For
Eyelash extension adhesive allergy symptoms usually appear as redness, itching, swelling, or burning at the application site. They can start within minutes or take up to 48 hours to develop.
Watch for these signs:
- Redness or a raised, bumpy patch
- Itching or a crawling sensation
- Swelling of the skin or eyelid
Mild irritation and a true allergy can look similar at first. That’s why observation over the full waiting period matters.
If symptoms spread to your eyelid or eye itself, treat it as urgent and get medical care.
What to Do After a Lash Adhesive Reaction
A reaction after a patch test or a full set needs a clear plan, not guesswork. The right response depends on how severe the symptoms are and whether they are confined to the skin or involve the eye itself.
Triage: Match the Response to the Symptom
Mild, skin-only symptoms, a small area of redness, mild itching, or a few raised bumps at the test site:
- Stop using the product. Do not apply more adhesive.
- Gently remove any loose lashes or adhesive if it comes away easily. Do not pull or tug at lashes that are still bonded.
- Rinse the area with cool water and a gentle, fragrance-free cleanser.
- Avoid makeup, oils, and touching the area.
- Contact your lash artist, describe what you see, and send the photo you took at the test.
- Watch the area for 24 hours. If it is improving, keep it clean and dry. If it is not improving, treat it as moderate.
Moderate symptoms, swelling of the skin, spreading redness, persistent itching, or symptoms that last more than a day:
- Do the steps above, then contact a healthcare provider or a pharmacist for advice on an over-the-counter treatment. Do not start a new lash product until you have been cleared.
- Ask your artist to flag that adhesive, and its batch number, in your client record.
Severe or eye-involving symptoms, swelling of the eyelid, pain, blurred vision, watery or crusty eyes, a feeling that something is in your eye, or difficulty opening the eye:
- Seek medical care promptly. Do not try to remove bonded lashes yourself; a medical professional or your artist should handle removal.
- If symptoms include trouble breathing, facial swelling, or hives spreading beyond the test site, treat it as a medical emergency and call 911.
Document the Reaction
A reaction is only useful information if it is written down. Your artist should record:
- The date and time symptoms started
- The product name and batch number
- The test site and how much product was used
That record follows you. If you try a different adhesive later, your artist can compare formulas and avoid the ingredient most likely to be the trigger.
Follow Up Before Your Next Appointment
A reaction to one adhesive does not always mean a reaction to every adhesive, but it does mean the two of you need a new plan. Before your next appointment:
- Wait until all symptoms have fully cleared.
- Ask your artist which ingredient or class of ingredients may have caused the reaction, and whether a different formula is available.
- Consider a fresh patch test with the new product, on a different site, with the same 24-48 hour observation window.
Never try to “wait out” a reaction that is spreading, painful, or affecting your vision. Stop exposure, document what you see, and get medical care. A patch test is a risk-reduction step, not a substitute for medical advice.
What a Negative Patch Test Can and Cannot Guarantee
A negative patch test means no reaction appeared during the test window. It does not guarantee you will never react.
Here’s what it can tell you:
- Your skin tolerated that adhesive on that day, on that small area
- You are unlikely to have an immediate, severe reaction to that product
Here’s what it cannot tell you:
- That repeated exposure won’t cause sensitivity later
- That a full set on the eyelid will behave like a test behind the ear
- That a different batch or formula will be safe
Think of it as a risk assessment, not a guarantee. It lowers your odds of a surprise. It doesn’t erase them.
A “reaction-free” promise from any salon is a red flag. No adhesive is guaranteed safe for every person. If a studio tells you a patch test is unnecessary because their glue “never reacts,” walk away.
Common Mistakes to Avoid During Patch Testing
Most patch-test failures come down to a handful of avoidable errors. Here are the ones we see most.
- Testing the wrong product. You must test the exact adhesive and batch used for your set.
- Skipping the wait. Testing the morning of your appointment defeats the point.
- Testing on broken or irritated skin. This gives a false result and can worsen irritation.
At Lashes by Shigeru, we manufacture our own high-quality products, adhesives, and growth serums and skin elixirs. That control over our supply is a big part of why we can offer a comfortable, problem-free appointment for sensitive eyes.
Frequently Asked Questions
Do lash extensions need a patch test?
A patch test is strongly recommended before any lash extension appointment, especially for first-time clients or anyone with a history of sensitive skin or adhesive reactions. It exposes a small area of skin to the lash adhesive so you and your lash artist can observe whether irritation develops. While it cannot predict every possible reaction, it is a simple precaution that takes minutes and gives both you and your technician useful information before a full set is applied.
How long should you wait after a lash glue patch test before getting extensions?
Wait at least 24 hours, and ideally 48 hours, after a lash glue patch test before scheduling your full appointment. This waiting period allows enough time for delayed reactions such as redness, itching, or swelling to appear. If no symptoms develop within that window, your lash artist can proceed with the full application. If any reaction occurs, do not proceed and consult a healthcare provider if symptoms are significant.
What are the signs of an allergic reaction to eyelash extension adhesive?
Common eyelash extension adhesive allergy symptoms include redness, itching, swelling, burning, and discomfort around the application site or outer eye area. These symptoms may appear within hours or develop over 24 to 48 hours. If you experience any of these signs after a patch test or full application, remove the adhesive if possible, avoid further exposure, and contact a healthcare professional. Severe reactions such as significant swelling or difficulty breathing require immediate medical attention.
Does a negative patch test guarantee you will not react during a lash appointment?
No. A negative patch test means no reaction appeared on the small test area within the observation window, but it cannot guarantee you will never react. Reactions depend on adhesive exposure, the total amount of product used, application technique, and individual sensitivity that can change over time. A patch test is a risk-reduction step, not a reaction-free guarantee. Your lash artist should still follow safe application practices and monitor you during and after every appointment.
Choosing lashes shouldn’t mean gambling with your eye health. A proper patch test removes most of the guesswork, and it takes only minutes.
If you want a studio that treats safety as part of the service, book an appointment with Lashes by Shigeru. Our Japanese AirLash® technique, virtually weightless extensions, and in-house adhesives are built for sensitive eyes and natural, long-lasting results. Get started with Lashes by Shigeru and enjoy lashes that look striking and feel effortless.
No Comments