
How to Remove Lash Extensions Safely at Home: A Step-by-Step Guide
Quick Summary
To remove lash extensions safely at home, dampen a cotton pad with an oil-based or adhesive remover, press it over the lashes, and wait for the bond to loosen. Never force or pull an extension off, because that can take natural lashes with it.
- Use only enough remover to dampen a cotton pad, so it does not drip into the eye.
- Wait the full time on the remover label before trying to separate any extension.
- Separate extensions with a spoolie or blunt tweezers, working from the outer corner inward.
- Stop and seek medical care if your eyes are red, swollen, itchy or painful.
Table of Contents
- Why Safe Removal Matters for Your Natural Lashes
- What You’ll Need: Tools and Supplies for Removing Lash Extensions
- Step-by-Step: How to Take Off Lash Extensions Without Damage
- Removing Lash Extensions at Home Without a Lash Remover
- Choosing an Eyelash Extension Remover: What to Look For
- Warning Signs, Eye Irritation, and When to See a Professional
- Caring for Your Natural Lashes After Removal and Booking Your Next Appointment
- Frequently Asked Questions
Why Safe Removal Matters for Your Natural Lashes
Remove lash extensions at home carefully, because the process can also damage the lashes you already have. Comfortable, hypoallergenic applications are what many clients expect from a lash appointment, so it helps to protect that result when it’s time to take extensions off. The safest removal method depends on your eyes, your adhesive, and how carefully you work.
Most people think the danger is only in pulling. It is not. Eyelash extensions are attached with a strong adhesive, and a 2024 study in PubMed Central examined the relationship between eyelash-extension use and ocular side effects Ocular Side Effects of Eyelash Extension Use Among Female. Eye irritation and other ocular problems are real concerns, which is why the removal step matters as much as the application.
Here is the core rule: never force an extension off. If it does not release easily, stop and let the remover do its job. Forcing it is how natural lashes get pulled out.
- Pulling can remove natural lashes along with the extension.
- Adhesive that is not fully dissolved can irritate the eye.
- Rushing increases the chance of contact with the eye.
Watch out: If your eyes are red, swollen, itchy, or painful after an allergic reaction, do not attempt removal yourself. The American Academy of Ophthalmology warns that trying to remove extensions during an allergic reaction could damage the eyes American Academy of Ophthalmology guidance on eyelash extensions. Get medical care first.
What You’ll Need: Tools and Supplies for Removing Lash Extensions
Gather everything before you start. Stopping halfway to look for a supply is when mistakes happen. You do not need expensive equipment, but you do need the right items.
- An oil-based eye makeup remover or a remover made for lash extension adhesive
- Clean cotton pads or lint-free swabs
- Clean spoolie brush for gentle separation
- Fine-tipped tweezers with blunt ends
- A clean hand mirror and good lighting
- A warm, damp washcloth for the steam step
A dedicated adhesive remover is a sensible choice because it is formulated to break down the bond.
Avoid anything harsh. Some household products irritate the eye or leave residue that makes future applications fail.
Step-by-Step: How to Take Off Lash Extensions Without Damage
Work slowly and in a clean space. For a fuller walkthrough, you can open the complete removal guide before you begin. Wash your hands with soap and water, remove any eye makeup with a gentle cleanser, and sit in front of a mirror with good light. Tie back loose hair so it does not brush the lash line while you work.
- Close your eyes and relax. Keep your gaze downward so you are not pulling your lid up. Tugging the lid changes the angle of the lash line and makes it easier to accidentally pull a natural lash.
- Apply the remover to a cotton pad. Use only enough to dampen the pad. A soaked pad drips into the eye; a damp one stays where you put it.
- Press the pad gently over the lashes. Hold it for a few seconds so the remover can work on the adhesive. Keep the pad below the waterline and away from the inner corner.
- Wait for the bond to loosen. Do not peel. Give the remover the full time on the product label, usually a few minutes, before you check progress.
- Gently separate the extension. Use a spoolie or blunt-tipped tweezers at the base, never pulling outward. Work from the outer corner inward, where lashes are usually shorter and easier to reach.
- Cleanse the lash line. Wipe away residue with a fresh, clean pad. Do not reuse a pad that has already picked up adhesive.
- Rinse with warm water. Pat your lashes dry gently with a clean towel. Do not rub.
If an extension does not release, reapply remover and wait longer. Never pry.
What to Do When the Adhesive Won’t Budge
Most guides assume the first pass works. In practice, a common pattern is that the outer-corner lashes release quickly while the inner-corner and center lashes hold longer, because those fans were applied with more adhesive or sit closer to the lid. If a section will not release after two full rounds of remover and the labeled wait time, stop for the day. Reapplying remover repeatedly in one session can dry out the lash line and increase irritation.
- Do not switch to pulling. A lash that resists remover is bonded to a natural lash that will come out with it.
- Do not add heat. A hot towel or blow dryer can make the adhesive tacky again and irritate the lid.
- Do not pick at the base with fingernails. This is the most common way DIY removers create a gap in the natural lash line.
- Try a longer, gentler soak next session. A fresh pad with remover held in place for the full labeled time often succeeds where a quick pass failed.
Watch out: If a clump of lashes is stuck together and will not separate after two attempts, leave it and book a professional removal. A licensed lash technician can assess whether the bond is a cure-time issue or an adhesive that needs a different remover.
Using Oil-Based Removers and Vaseline Safely
Many people reach for oil or petroleum jelly. Oil-based removers can help loosen some adhesives, but oil can also transfer into the eye and cause irritation, so use it sparingly and only on the lash line. For a remover made to dissolve adhesive gently, Buy Eyelash Adhesive Remover Gel from Lashes by Shigeru is available. Apply a thin layer of Vaseline to the lash base to protect the skin as you work, then wipe it away completely afterward. Do not leave oil or petroleum on the eye itself. If you wear contact lenses, remove them before you start and keep them out until your eyes feel normal again.
Watch out: Essential oils such as peppermint, eucalyptus, and tea tree are sometimes suggested as DIY removers. They are not formulated for the ocular area and can burn or irritate the eye and lid skin. Skip them.
The Steam Method and Gentle Dissolving
A warm, damp washcloth placed over closed eyes for a minute or two can soften the adhesive and make removal easier. Keep the cloth warm, not hot. Pair this step with remover, not in place of it. Steam softens the bond, but it does not dissolve the glue. A common pattern is to steam first, then apply remover, then steam again if a section is stubborn.
The removal steps below summarise the process so you can check each stage before you start.
| Step | What to do | Time or frequency |
|---|---|---|
| Close eyes and relax | Keep gaze downward, do not pull lid | Before starting |
| Apply remover | Dampen cotton pad, press over lashes | A few seconds |
| Wait for bond to loosen | Do not peel | Full time on label, usually a few minutes |
| Separate extension | Use spoolie or blunt tweezers at base | Outer corner inward |
| Cleanse lash line | Wipe with fresh, clean pad | Once per session |
| Rinse | Warm water, pat dry | Final step |
Removing Lash Extensions at Home Without a Lash Remover
You can remove lash extensions without a dedicated remover, but the results are less predictable. Oil-based products are the most common substitute. Use them carefully, keep product away from the eye, and expect a longer process. If the bond does not loosen after a reasonable wait, stop. Forcing it is worse than a slow removal.
Watch out: Never use acetone-based products near your eyes. They are too harsh for the delicate lash area and can cause serious irritation.
Choosing an Eyelash Extension Remover: What to Look For
A good remover breaks down adhesive without harming the eye or natural lashes. Look for these points:
- Labeled for lash extension adhesive. General makeup removers may not dissolve the bond.
- Gentle formula. Choose products that rinse cleanly and leave no oily film.
- Easy application. A gel or cream you can control is easier than a liquid that runs into the eye.
If you are unsure, start with a dedicated gel remover. Many people also find that a cleanser to remove leftover residue is helpful. For a fuller routine on keeping extensions in good shape until removal, see our guide on how long premium lash extensions last.
Warning Signs, Eye Irritation, and When to See a Professional
Stop removal and seek professional help if you notice:
- Redness, swelling, or itching that does not fade
- Burning or stinging in the eye
- Visible lash loss or thinning at the base
- Pain when blinking or touching the lid
- Any sign of an allergic reaction
Some lash damage happens before you ever remove the extensions, so an in-person assessment is worth it when something feels wrong. A licensed lash technician can remove extensions safely and check your natural lashes at the same visit.
Caring for Your Natural Lashes After Removal and Booking Your Next Appointment
After removal, your natural lashes need time to recover.
Days 1-3: calm and clean. Keep the lash line clean with a gentle, oil-free cleanser and lukewarm water. Pat dry, do not rub. Skip mascara, eyeliner, and lash curlers for at least three days.
Days 4-14: rebuild. Natural lashes cycle through growth phases, so the lashes you see now are not all the lashes you will have next month. A lightweight, oil-free lash serum applied at the base of the upper lash line may be used as part of a recovery routine.
Week 3 onward: reassess. If lashes look thinner than they did before extensions, wait a full growth cycle before judging. Lashes can look sparse right after removal, and assessing them after a full growth cycle gives a clearer picture.
Signs the lash line needs professional attention rather than home care:
- A visible gap or bald patch that does not fill in after several weeks
- Redness, flaking, or itching along the lid margin that persists
- Lashes that grow in pointing in unusual directions
- Any bump or stye at the lash base
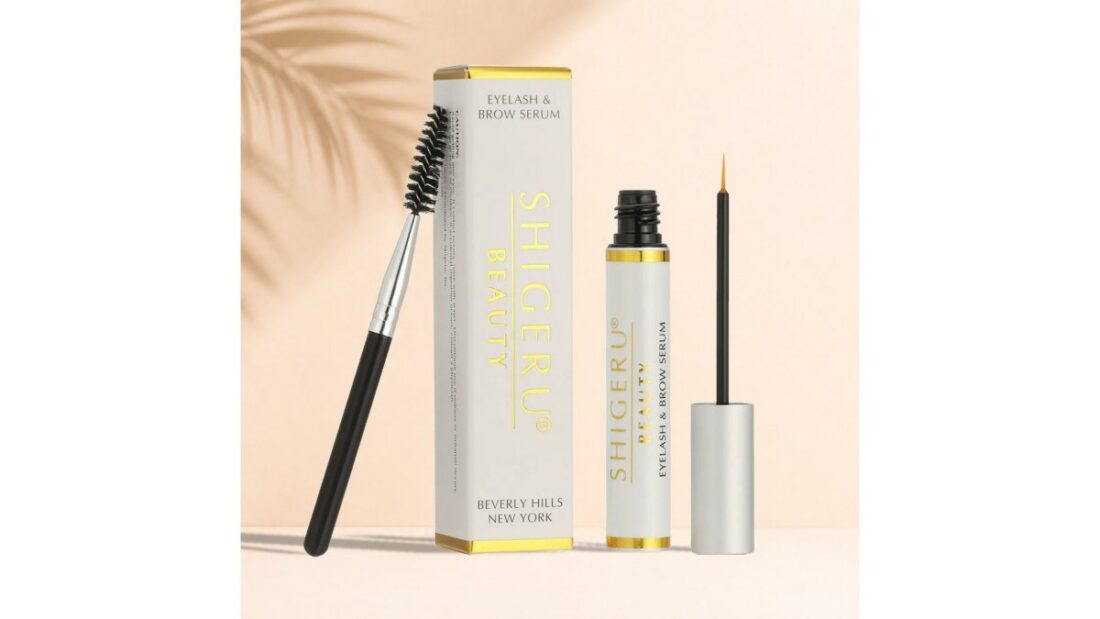
Lashes by Shigeru also offers a Lash & Brow Growth Serum at $69.00 for people whose lashes or brows have become thinner or sparser over time.
If you are thinking about your next set, our team can help you choose a style that suits your natural lashes and your removal timeline. Book an appointment with Lashes by Shigeru and we will walk you through the process from start to finish.
Frequently Asked Questions
Can I safely remove lash extensions at home?
Yes, many people remove lash extensions at home with an oil-based remover, but the process must be slow and gentle. Adhesive should be fully dissolved before any contact with the lash line, and you should never pull the extensions off. If the extensions are not loosening after a few minutes of product contact, or if your eyes feel irritated, stop and book a professional removal. Safe at-home removal depends on patience, the right product, and knowing when to stop.
Can Vaseline remove eyelash extensions?
Vaseline can help soften the bond between the extension and the natural lash, but it is not a dedicated adhesive remover and may take longer to work. Apply a thin layer to the extensions with a clean spoolie, let it sit for several minutes, and then gently roll the extension away from the natural lash. Avoid getting petroleum jelly into your eyes, and wipe away any residue with a damp cotton pad so it does not clog the lash line.
What can I use to remove lash extensions without lash remover?
Many people use an oil-based cleanser, such as a gentle eye makeup remover with oil, or a plant oil like coconut or castor oil, to loosen the adhesive. These options work slowly and require patience. Avoid acetone, which can irritate the eyes. If you are dealing with a stubborn bond, a professional bond dissolver used by a trained lash technician is the safer choice.
